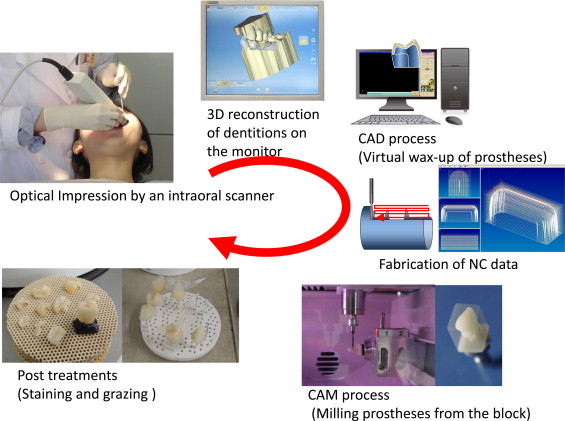
Computer-Aided Design/Computer-Aided Manufacturing (CAD/CAM) technology has revolutionized dental science, making the fabrication of dental prosthetics more efficient, precise, and predictable. Full ceramic restorations, known for their outstanding aesthetics and bio-compatibility, can now be produced with ease and precision using CAD/CAM technology. Here’s a comprehensive guide on how dental labs employ CAD/CAM to create full ceramic restorations.
The Process of Dental Lab CAD/CAM for Full Ceramic Restorations
Step 1: Data Acquisition
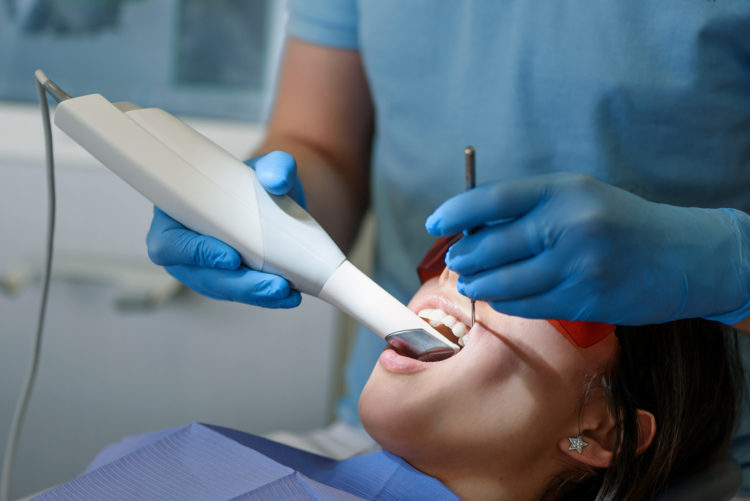
The process begins with acquiring accurate data of the patient’s oral structures. Traditional manual impressions are now often replaced with digital impressions using an intraoral scanner, creating a detailed and precise 3D image of the patient’s dentition and surrounding structures.
Step 2: CAD – Designing the Restoration
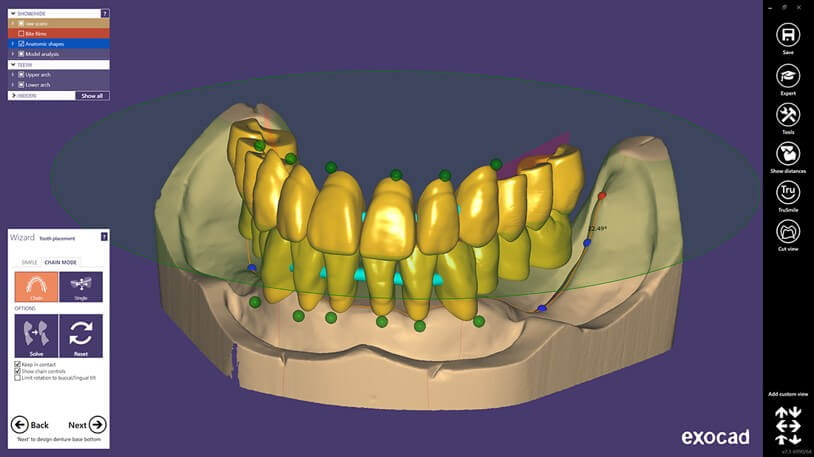
The digital impression is transferred to the Computer-Aided Design (CAD) software, where the technician designs the ceramic restoration. The CAD software provides tools that let the technician define the size, shape, and occlusal topography of the prosthetic, ensuring a precise fit and proper function. This digital method allows dentists and technicians to collaboratively design restorations, ensuring optimal aesthetics and functionality.
Step 3: Material Selection
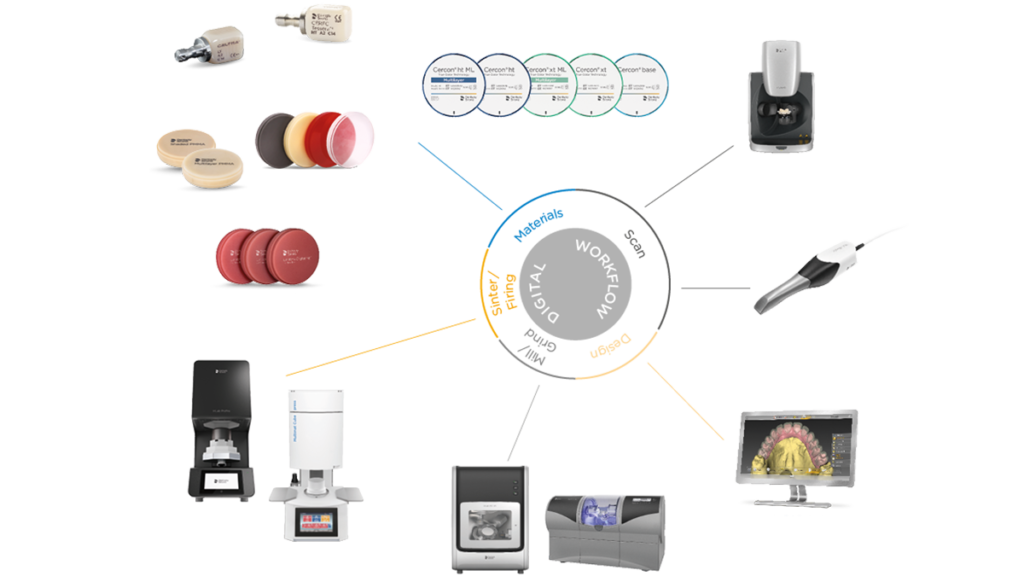
Once the design phase is complete, the appropriate ceramic material is selected based on the tooth’s location, patient preferences, and functional demands. High-strength ceramics like zirconia, lithium disilicate glass-ceramic, or other full ceramic options like feldspathic porcelain can be chosen for their respective benefits.
Step 4: CAM – Milling the Restoration
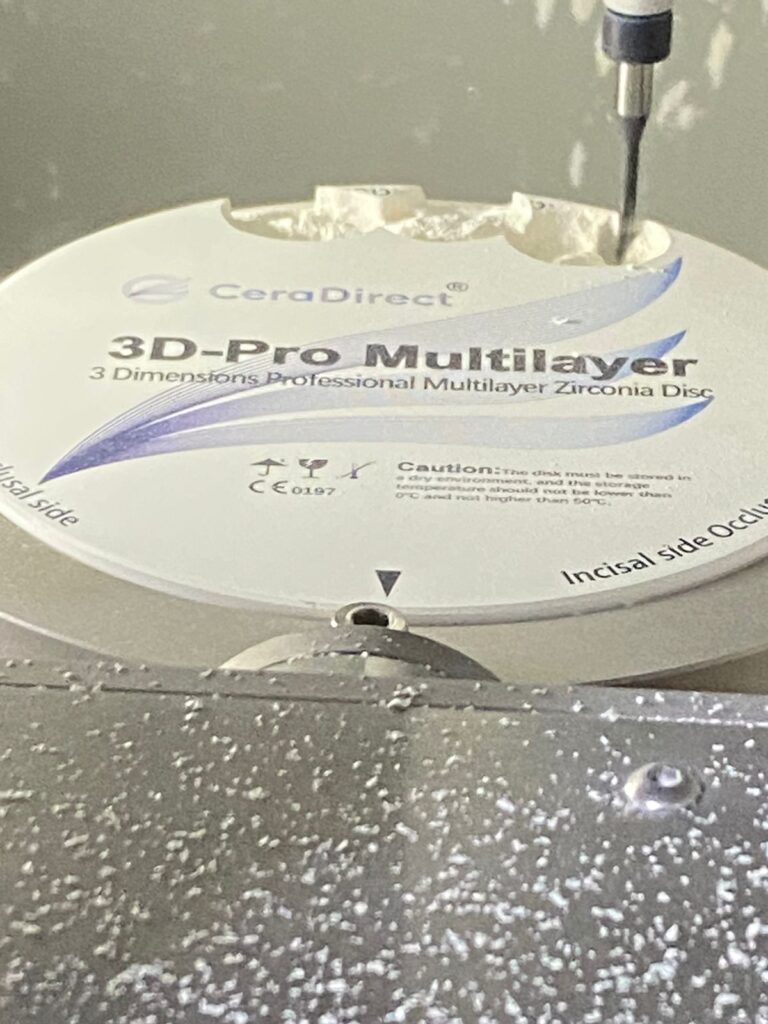
Once the design is complete and material selected, the data is sent to the Computer-Aided Manufacturing (CAM) software, which translates the design into millable data. The selected ceramic block is then milled using a CAD/CAM milling machine. This machine uses burs to cut the block according to the design, producing the final rough-shaped restoration.
Step 5: Finishing Touches
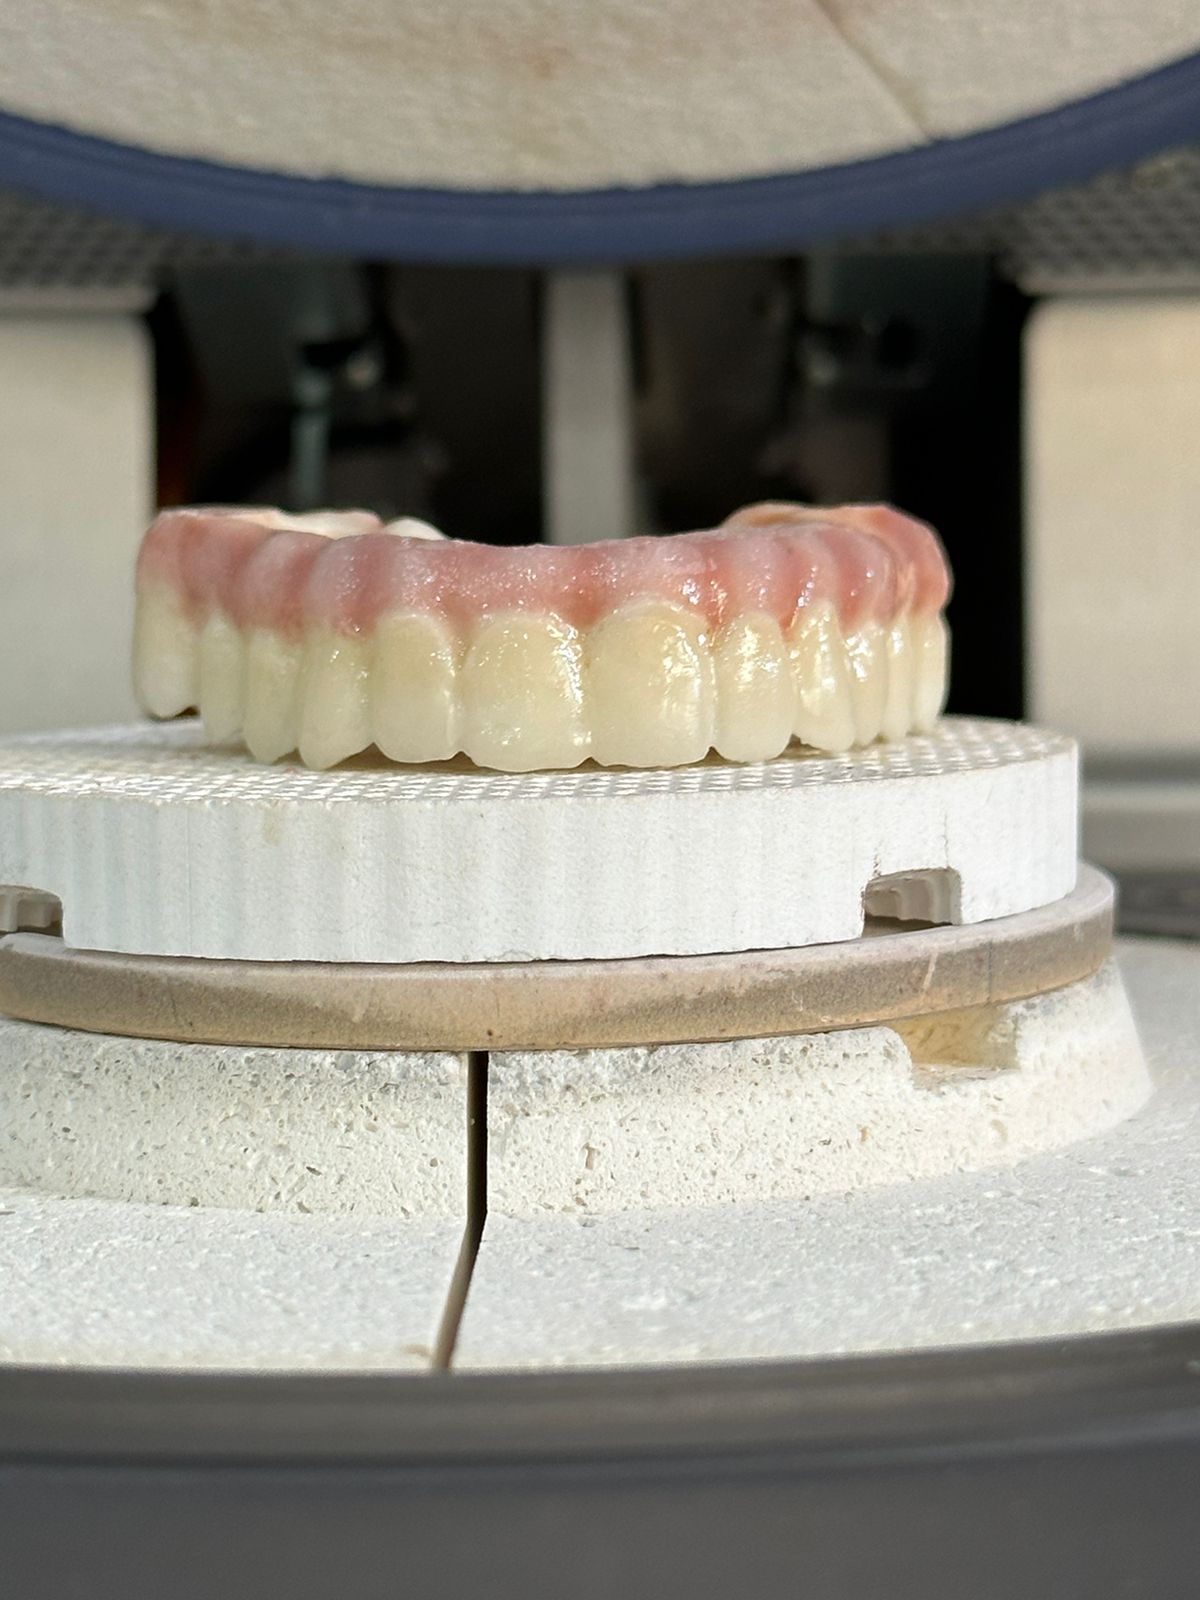
Post-milling, the restoration undergoes a sintering process where it is heated to high temperatures to obtain its final hardness and strength.
Once sintered, the restoration still requires some hands-on work. Any excess material is removed, and occlusal adjustments are made to ensure a perfect fit. The fully sintered restoration is then stained and glazed to mimic the color and translucency of natural dentition, enhancing aesthetics.
Step 6: Final Check and Delivery
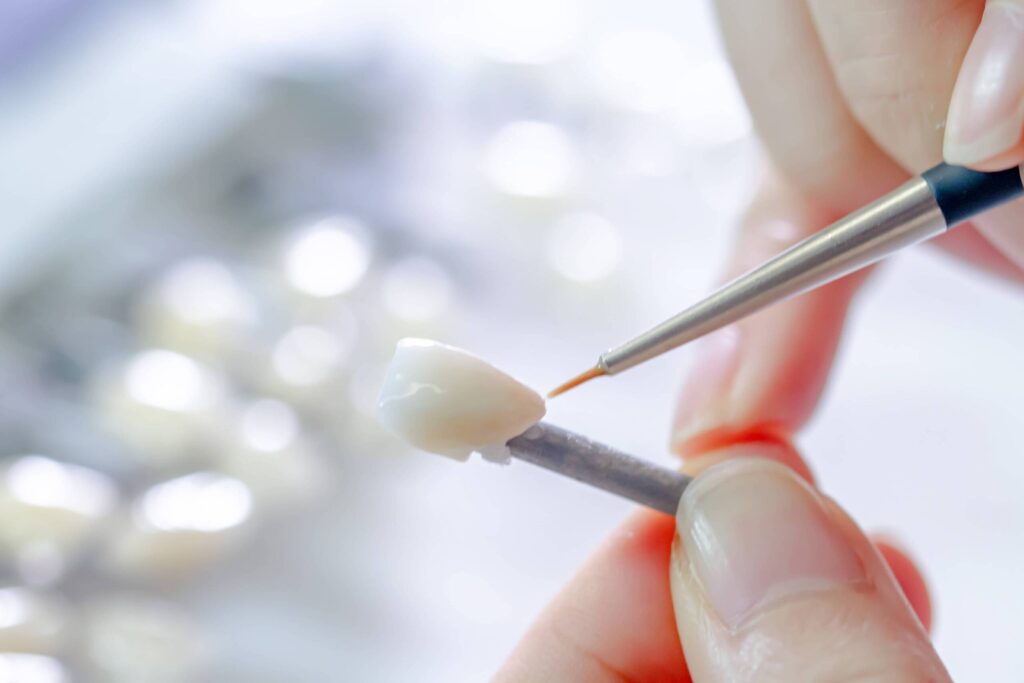
The final restoration is thoroughly inspected for accuracy of fit, contour, occlusion, and color, before it is delivered to the dentist for final cementation in the patient’s mouth.
Benefits and Limitations of CAD/CAM in Full Ceramic Restorations
Benefits:
- Speed: CAD/CAM allows for rapid turnaround times, with some restorations completed in a single dental visit.
- Accuracy: The accuracy of CAD/CAM is superior to traditional methods, ensuring better fit and marginal integrity of restorations.
- Material Conservation: CAD/CAM technology maximizes material usage, reducing waste.
Limitations:
- Cost: CAD/CAM technology requires significant investment in technology and training.
- Need for Training: Operating CAD/CAM systems requires specialized training.

Conclusion
The adoption of CAD/CAM technology in dental laboratories has inevitably changed the landscape of restorative dentistry, paving the way for safer, faster, and more accurate full ceramic restorations. Through continuous digital advancements, the potential and reach of CAD/CAM in dentistry continue to expand, lowering costs, and making it more accessible. While CAD/CAM does not replace the skill and artistry of a dental technician, it’s a crucial technology that enhances the precision and efficacy of dental restorations.



Leave a Reply